

One of the easiest dresses to sew for girls is a "pillowcase dress." Originally, the idea was to use a real pillowcase (vintage embroidered ones would be awesome!) but they are great for those whimsical novelty fabrics you wouldn't use for more formal attire. They are fast, cheap and easy! Here's how:
Determine the length and width of your fabric. For Sarah, a 4T/5T, I use the entire width of fabric (45") & for the twins, 18mo/2T, I used about 36 inches. Folded in half, that's 18 inches. Hold your fabric up to your kid to determine the length you want - remember to give yourself an inch or two of wiggle room for the hem and casing. For the larger size, I use about about a 32" length. You will also need double fold seam binding tape and 1-1 1/2 yards of ribbon.
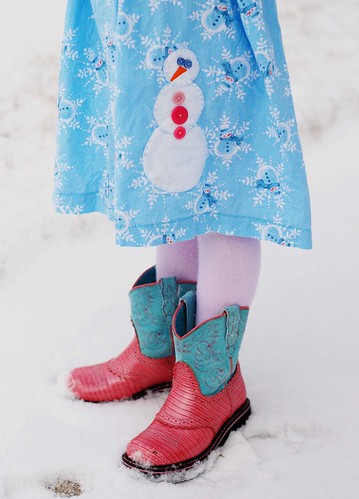
I was working on several dresses at once, so don't get confused by the different fabrics in the pictures! You can click on them to see them better if you need to.
Fold your width of fabric in half, right sides together (wrong sides are together in the picture) and stitch along the unfolded side. Press the seam open. Basically what you've created is a tube similar to a pillowcase that's open at both ends.

After pressing the seam open, you will cut armholes. (You can have the seam stay on the side of the dress, or you can center it in the back as I have here.) I don't use a pattern for the armholes - I just think of it as a "J" shape. This style dress is very forgiving, so it doesn't have to be perfect. After cutting one arm hole, I use the cutout as my pattern for the other side so that they are the same. Your armholes will be about 6" long into your garment and 4" wide.

Finishing the armholes is the trickiest part, but after you grasp the concept, it's really simple! You will take your double fold seam binding and open it up, pinning the right side of it to the right side of your garment along the armhole. I then stitch in the fold nearest to the edge of the fabric. Remove the pins, fold the seam binding over so that it is on the wrong side of your garment, with the other fold of the seam tape folded back under (so it looks like it did when you took it out of the package - all edges tucked under.) Press and then top stitch on the wrong side of your garment along the edge of the seam binding. If you have trouble getting the seam binding to lie flat before stitching, make small cuts along the curve of the armhole (between the edge of your fabric and your stitching) to help give the fabric some ease. For the top stitching, I use a zig-zag stitch so that my crooked stitching isn't as noticeable. The seam binding gives you a nice clean finish to your armhole.

After you've finished your armholes, press the top of the dress down, front and back, about 1/4 inch and then fold and press it over another 1-1 1/2 inches (towards the wrong side of your fabric.) Use your ribbon as a guide for how much to fold over. Top stitch along the edge to create the ribbon casing.

Use the same steps to create a hem at the bottom of the dress. Cut your ribbon in half and attach a safety pin to the end to help guide it through the casing at the top of the dress, front and back. Tie the ribbon at the shoulders and trim off any extra length.
You can add embelishments to your dress to make it special. Appliques are great or you can add ribbon or a contrasting fabric to the bottom.
It's sew easy!


5 comments:
it's sew cute!!!
will you be making these for sale??!really fabulous.
cute! i want to give it a try =]
These are so cute! Makes me wish I had a little girl instead of three rambunctious dogs! (Well, in addition to, not really instead of!)
Those are so cute. I wish my daughter was little again. adorable.
Post a Comment